If you’re planning on getting a pet milksnake, then the first thing you need to do is set up an appropriate terrarium for it to live in. Milksnakes aren’t like other types of pets that you may be more familiar with, such as dogs or cats. They can’t simply live free-range with you in your home; instead, they need a terrarium that has the right equipment in the right arrangement to create a usable environment that replicates the conditions of their native habitat.
If you haven’t read our Milksnake Care Sheet yet, read that first! Once you have a basic understanding of what your new pet needs from its habitat, you’re ready to start setting up a milksnake terrarium.
It may seem expensive to buy all of these supplies for “just a snake,” but they are essential to your pet’s survival. Without an appropriate terrarium to live in, your new pet is likely to get sick and die. Here’s our step-by-step guide to successfully setting up a milksnake terrarium so you and your beloved pet can enjoy many years together!
Step 1: Choose the Right Terrarium
There are many different types of milksnakes, with some never getting longer than 3’ and others growing up to 6’. Your first task, then, is to figure out what type of milksnake you have and how long it’s likely to grow, as this will help you choose an appropriate enclosure. However, if you’re still not sure, 4’L x 2’W x 2’H is going to be a very safe starting point.
This terrarium can be made from wood, glass, or PVC, but it should be front-opening and have plenty of ventilation for healthy airflow, whether in the form of a mesh top or side vents. We prefer enclosures with a mesh top design, as they make it much easier to safely install heat and UVB lamps.
If your terrarium doesn’t have opaque sides, you will need to cover them with something to help your milksnake be comfortable in its environment. This can be as simple as construction paper or as elaborate as a 3D textured background.
Products we recommend:
Step 2: Arrange Your Lighting and Heating Equipment

To heat and light your milksnake’s terrarium appropriately, you will need the following equipment:
- Heat lamps (at least 2)
- UVB lamp (roughly half the length of the enclosure)
- 6500K lamp (most of the length of the enclosure)
- Heat mat
- On/off thermostat
Both heat lamps should be placed on the right or left side of the terrarium, close together. The UVB lamp should be placed on the same side so it fully overlaps with the beams from the heat lamps. The 6500K lamp should be placed on the same side as the others, extending along most of the length of the terrarium.
It’s also best practice to provide a warm hide for milksnakes to use as needed. Simply place a hide directly underneath the heat lamps, and if the heat lamps don’t get it to 80-85°F, even though the basking temperature is within range, add a heat mat connected to a thermostat under the hide, hidden under a 1-2” layer of substrate. To be effective, the thermostat probe must be placed inside the warm hide.
Products we recommend:
- Fluker's Mini Sun Dome Lamp, 5.5"
- Zoo Med Repti Tuff Splashproof Halogen Lamp, 50w
- Arcadia T5 HO Forest 6% UVB bulb, 22”
- Arcadia ProT5 Lamp Fixture, 24”
- Arcadia Jungle Dawn LED Bar, 34”
- Zoo Med ReptiTherm Under Tank Heater (U.T.H.)
- Exo Terra Thermostat, 100w
Step 3: Start Minimalist
With any new pet reptile, it is best practice to quarantine them for 3-6 months after bringing them home, especially if you have other pet reptiles. When you first set up your milksnake terrarium, it’s best to start simple so you can quarantine them efficiently.
Here’s what you need at minimum:
- paper towels for substrate
- sphagnum moss
- hide box or cave (at least 2)
- large water dish
- pressure sprayer
- artificial foliage
- climbing branch
- digital thermometer/hygrometer device (x3)
Choose a climbing branch sturdy enough to support the milksnake’s body, but it shouldn’t be so tall that it brings the snake dangerously close to the UVB lamp — UVB wavelength intensity increases the closer the snake gets to the lamp. If at all possible, buy or borrow a Solarmeter 6.5 to check that the maximum UVI is no higher than 3.0. Generally speaking, this means that the snake should not be able to get closer than 9” under the bulb if the lamp is mounted over mesh.
Place the thermometer probes so one is on the basking surface, one is in the warm hide, and one is on the cool side of the terrarium. Your temperature gradient should look like this:
- Basking temperature — 85-90°F
- Warm hide temperature — 80-85°F
- General air temperature — 70-80°F
If temperatures are too high, use a plug-in lamp dimmer, thermostat, or a lower bulb wattage. If the temperatures are too low, you will need higher-wattage bulbs.
For humidity, you will need an average of 40-60%, with higher in the cool (humid) hide. To create a humid hide, place a hide box on the cool side of the enclosure, lined with moistened sphagnum moss. Increase humidity by misting the enclosure with water nightly.
Products we recommend:
- Galapagos Blond Sphagnum Moss, 150 in³
- Exo Terra Reptile Cave
- Exo Terra Mister
- Zoo Med Repti Rock Corner Bowl, Large
- Exo Terra Ficus Silk Plant, Large
- Galapagos Walking Wood Grapevine Branch Brown 19 In - 24 in
- Zoo Med Digital Combo Thermometer Humidity Gauge
Step 4: Quarantine for at Least 3 Months
The purpose of using a minimalist setup for quarantine is to make it easy to keep clean. During this time, monitor your milksnake for signs of parasites or illness. If you notice anything concerning, take it to an experienced reptile veterinarian for diagnosis and treatment.
Substrate should be changed out whenever it gets soiled, and the enclosure and all accessories should be disinfected at least 1x/month. Use a bleach solution (¾ cup bleach per gallon of water) or veterinary-grade disinfectants like F10SC and Clean Break.
Step 5: Add Substrate
Once quarantine is over, you can work on giving your milksnake terrarium a fully-enriched, long-term layout. It won’t need to be cleaned quite as often — only once every 3-6 months, depending on how good you are about spot-cleaning.
The first step of setting up a long-term terrarium design is adding a naturalistic substrate. For a milksnake, aim for something that resembles forest soil, such as coconut fiber and leaf litter. You will need at least 2” of substrate to help maintain humidity, so for a 4’x2’ terrarium, count on at least 40 quarts or 1.4 cubic feet of substrate.
If your terrarium has different dimensions, you can estimate the amount of substrate you’ll need by multiplying the length x width to get the number of cubic inches of substrate it will take for 1” deep of substrate. Then multiply that number by the desired depth of substrate, then convert the resulting number to quarts or cubic feet.
Products we recommend:
Step 6: Add Environmental Enrichment
Environmental enrichment is the process of strategically adding items to your snake’s terrarium that make it more functional for the occupant. Now it’s time to get creative! The best way to get inspiration for your terrarium’s appearance is by looking at pictures of milksnake habitat on sites like iNaturalist and Flickr.
Place the water bowl, hides, and main climbing branch first, and build around those. Make sure the water bowl is accessible and easy to remove, but minimize open space, as milksnakes are most comfortable when they have plenty of climbing and hiding opportunities available.
Ledges
Magnetic ledges offer great lookout points for milksnakes to survey their surroundings, and encourage climbing. Hammocks also offer a similar function.
Wood makes a great material for your snake to climb on or hide under, encouraging good muscle tone and/or helping reinforce their sense of security. Mopani wood, cork bark, and manzanita wood are less prone to mold and tend to work best. Whichever you choose, make sure the branches are large and stable enough to support your snake’s size and weight.
Whether real or fake, plants perform the very important role of providing visual obstruction, and also do a lot to make a terrarium more attractive. Live plants help with maintaining humidity, but artificial plants are much more durable.
Live plants should be kept in pots to help keep the water close to the roots, unless the enclosure is bioactive (which this article is not covering). Use temperature to tropical plants tolerant of moderate light conditions, sturdy enough to withstand occasional trampling, and moderate amounts of water. They should also be nontoxic if accidentally ingested. Some suitable options include:
- Callisia
- Dracaena
- Ficus
- Peperomia
- Philodendron
- Pilea
- Pothos
- Sansevieria
- Wandering Jew
For more safe plant ideas, visit The Tortoise Table.
Conclusion
Even after you’ve set up your milksnake’s long-term terrarium arrangement, it’s okay to rearrange it every so often as you come to understand milksnake husbandry better. It also helps keep your pet’s environment “fresh” and stimulates them to explore and exercise!
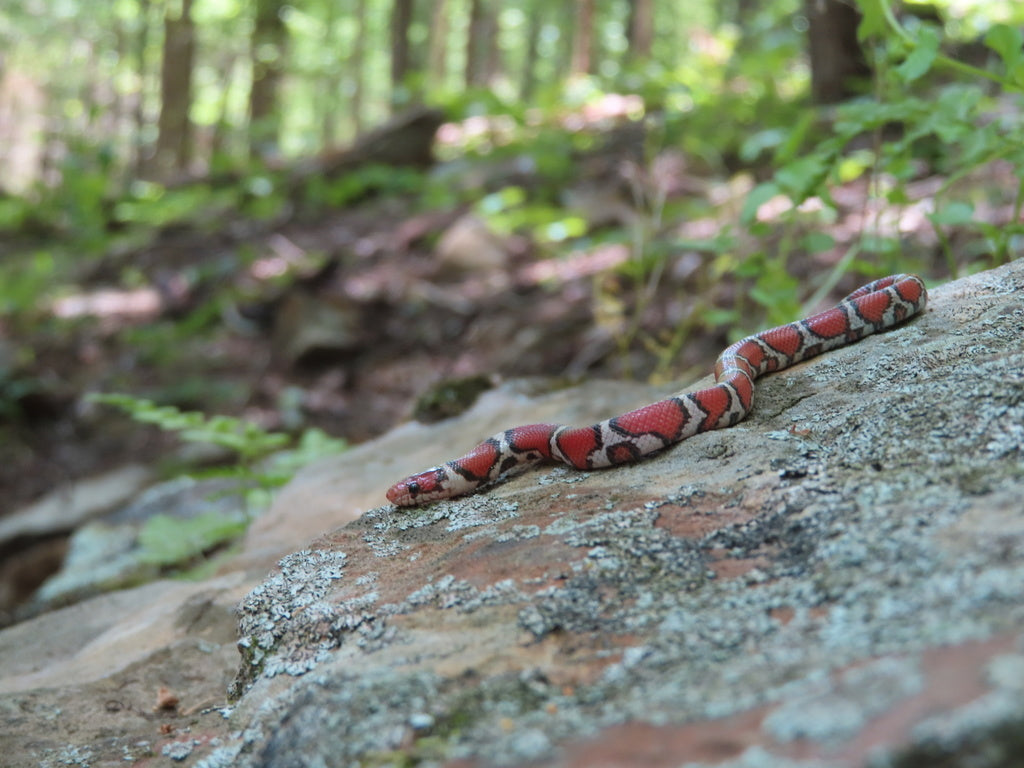
“Photo 172006093” by geomamba is licensed under CC BY-NC 4.0


